How to Safely Remove Old Mac Software Update Files?
100% reliable
8 mins
59.76K views
- It's essential to remove old Mac update files as they take up valuable space and slow down the computer's performance.
- Before removing these files, take a backup using Time Machine to ensure important files are safe.
- Follow the simple steps to remove old update files, which include opening Finder, navigating to the folder where the files are stored, and moving them to the trash.
- To free up additional space, consider uninstalling apps you no longer use or moving files to an external hard drive.
Why should you remove old Mac update files?
Before we get into the specifics of how to remove old Mac update files, let's talk about why it's essential to do so. As you update your Mac, your system accumulates old update files that are no longer needed. These files can take up a considerable amount of space on your hard drive, slowing down your Mac and causing other performance issues.
For example, if you have a 128GB Mac and several old update files taking up 5GB of space, that's 5GB less space for your documents, photos, music, and other important files. Over time, these old update files can take up a significant portion of your hard drive, leading to issues such as slow performance, system crashes, and other problems.
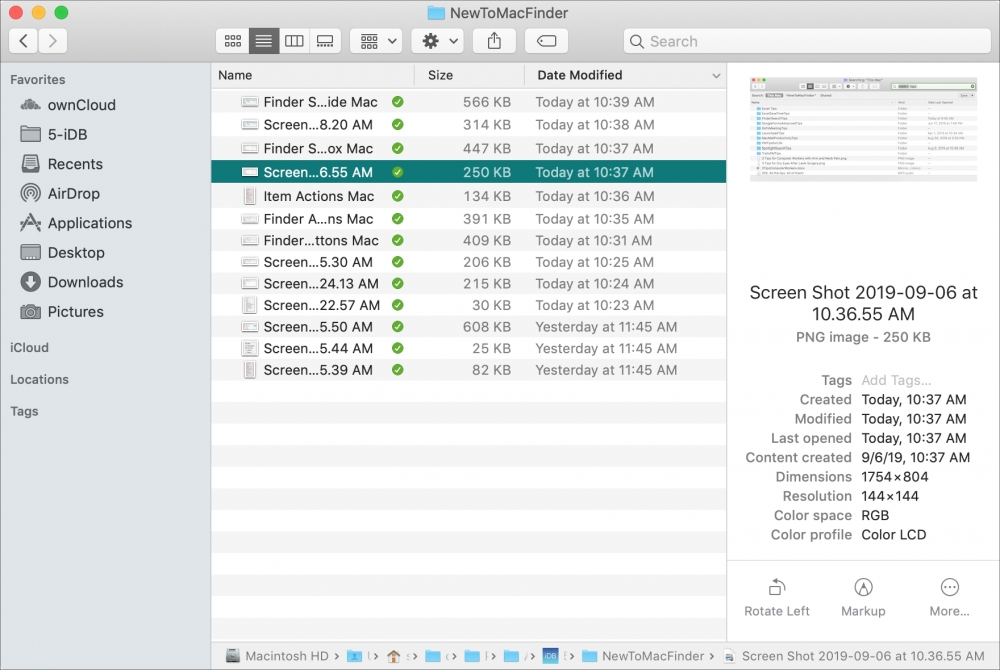 Image credit: iDownloadBlog
Before you Remove old Mac Update Files, prepare your Mac by taking a Backup
Before we go ahead to remove unwanted software update files from your Mac, we recommend you back up your files to ensure you keep all important files. Follow the below-mentioned steps to back up your files using Time Machine Backup.
Here is how you use Time Machine Backup to back up your data
- Connect an external hard drive to your Mac computer.
- You can use either a USB or Thunderbolt drive.
- Once the external drive is connected, your Mac may ask if you want to use the drive to back up with Time Machine. If not, you can go to "System Preferences" and select "Time Machine."
- Click the "Select Backup Disk" button in the Time Machine preferences pane.
- Choose the external hard drive you want to use for the backup and click "Use Disk."
- If you want to exclude specific files or folders from the backup, click the "Options" button and add the files or folders you wish to exclude.
- Turn on Time Machine by toggling the switch to "On" in the Time Machine preferences pane.
- Time Machine will start the initial backup, which may take some time depending on how much data is backed up.
- After the initial backup, Time Machine will automatically back up your data every hour, keeping hourly backups for the past 24 hours. Daily backups for the past month, and also weekly backups for all previous months.
With Time Machine, you can restore your files or your entire system from a backup. To restore a specific file or folder, open the Time Machine app, navigate to the file or folder, and click "Restore." To restore your entire system, you can use the Recovery Mode to access Time Machine backups and restore your Mac to a previous state.
 Image credit: MacFinder
How to Remove or Delete Old Mac update files?
Now that we've discussed why removing old Mac update files is essential. Let's talk about how to do it. Here are some steps to free up space on your Mac by removing old update files:
Step 1: Open Finder
First, open Finder on your Mac by clicking the Finder icon in your Dock or using the Command + N keyboard shortcut.
Step 2: Click on the "Go" menu
Next, click on the "Go" menu at the top of the screen. This will open a dropdown menu with several options.
Step 3: Click on "Go to Folder"
From the "Go" menu, click on "Go to Folder." This will open a dialog box where you can type in a specific folder path.
Step 4: Type in the folder path
In the "Go to Folder" dialog box, type in the following folder path: /Library/Updates/
Step 5: Press "Go"
Once you've typed in the folder path, press the "Go" button. This will take you to the folder where your old Mac update files are stored.
Step 6: Delete the old update files
In the folder that opens, you'll see a list of folders with names like "031-11111" and "031-22222." These Folders contain the old update files that are taking up space on your hard drive. To remove these files, select the folders you want to delete and move them to the trash.
Step 7: Empty the trash
Once you've moved the old update files to the trash, you'll need to empty the trash to delete the files from your hard drive. To do this, right-click on the trash icon in your Dock and select "Empty Trash."
If you accidentally deleted important files while doing this process, you need to stop using your computer immediately and use our professional data recovery software.
Additional tips for freeing up space on your Mac
Removing old Mac update files is one way to free up space on your Mac. Here are a few additional tips to help you optimize your storage and keep your Mac running smoothly:
- Uninstall apps you no longer use: If you have apps on your Mac that you don't use anymore, uninstalling them can free up valuable storage space.
- Clear your browser cache: Your web browser can also accumulate a significant amount of data over time. Clearing your browser cache can free up space and help speed up your browsing experience.
- Use cloud storage: If you have a lot of documents, photos, or other files you need to keep, consider using a cloud.
Recommended by the editors:
- No More September iPhones? Apple's Strategy Shift Changes Everything
- MacBook Pro M6 OLED Rumors: Release Date, Price, Features, and More
- 2026’s Top 250+ Wallpapers: The Ultimate Collection for iPhone, Android & More
- iPhone 18 Rumors: Apple Reportedly Testing Under Display Face ID
- Intel Could Finally Return to Apple Computers in 2027
Published to Apple Scoop on 20th February, 2023.